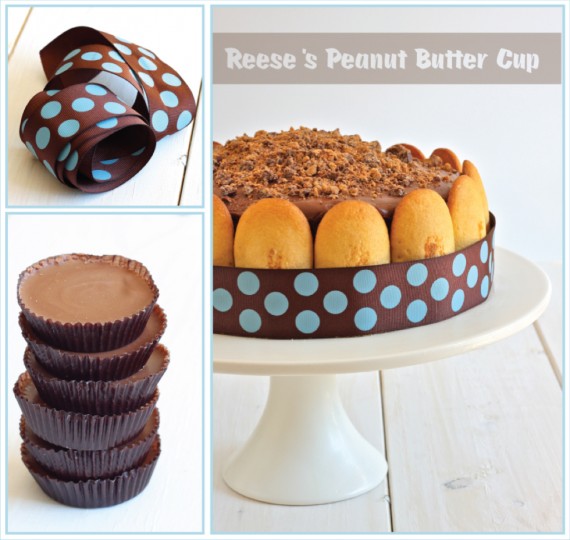
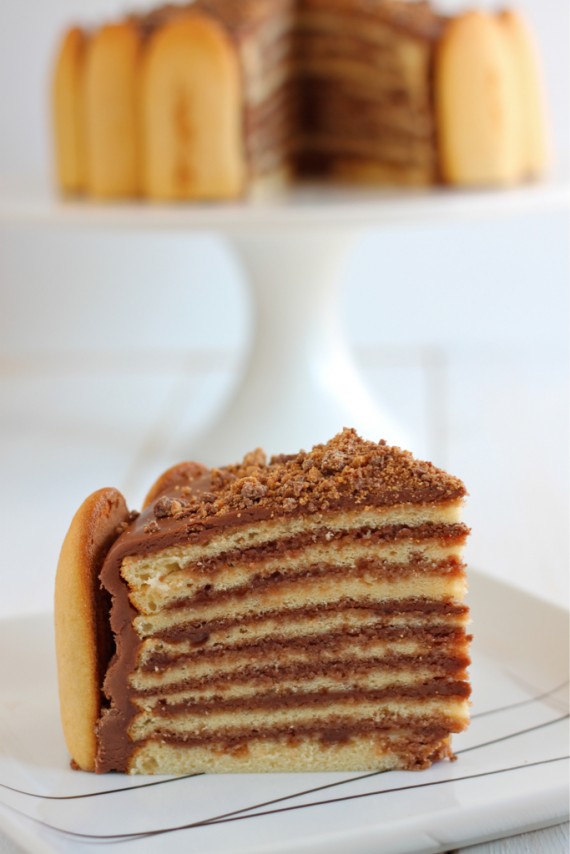
REESE’S PEANUT BUTTER CUP CAKE – SMITH ISLAND CAKE
As you may (or may not) know, Karl and I are going away to Europe for about 6 months to travel.
I KNOW!!! I CAN BARELY STAND STRAIGHT!!!! I AM SO SO SO EXCITED!
We bought our tickets and we are leaving on January 31st, 2013!!!
That’s why from now on, I will be making all the ridiculously delicious looking recipes I have been wanting to make.
I sure will be eating all sorts of baked goods down there but who knows how long it will take until I can actually bake a cake!
(My secret wish is that I make friends with a “Maître Patissier” in France and an old Grandma in Italy). The old Grandma would show me how to make fresh pasta and delicious Bolognese sauce…
For the record, I am really going to try to find my “Italian Grandma”!
Anyways…
So here we are! Me, surfing through www.saveur.com, looking for a special treat to make for Karl and BOOM!
The Smith Island Cake shows up.
And the search is over people! This cake was so beautiful with it’s 8 layers of goodness!
I had to make it…after all, I have to make up for 6 months right?
Needless to say, this cake was devoured in about 2 hours ( luckily not all by me, for once).. I brought it to work 😉
Now, I won’t lie to you, it is a sweet cake, but if you like Reese’s and Chocolate, this cake is for you!
I love love loveeeee the layers in this cake!
The recipe calls for 4- 8in cake pans ( I have a lot of cake pans, but not 4 of each, or maybe I do, but I can’t find them). I used 2 instead of 4 and I used my cake leveler/slicer to cut the layers in half. Do what you prefer 🙂
All to say that you have to try this cake!!! It is truly amazingly delicious 🙂
Alex -xo-
Recipe from: http://www.saveur.com/article/Recipes/Smith-Island-CakeCourse: Dessert Yield: 12 servings Prep Time: 60 mins Cook Time: 30 mins
Ingredients
- 2-3 package of ladyfingers (see note in instructions)
- 8 large Reese's Peanut Butter cups, frozen
- Nonstick cooking spray or soft butter
- 1/4 Cup of flour
- 1 18 1/4oz. box of Yellow Cake mix, preferably Duncan Hines (I used Betty Crocker)
- 2 Cup + 3 tbsp of evaporated milk
- 16 Tablespoon of butter, softened
- 1 Tablespoon of vanilla extract
- 1/2 Teaspoon of salt
- 4 large eggs
- 6 Cup of icing sugar (confectioner's)
- 1/4 Cup of unsweetened cocoa
Instructions
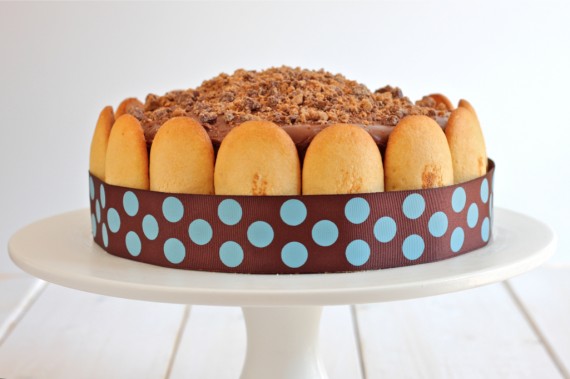
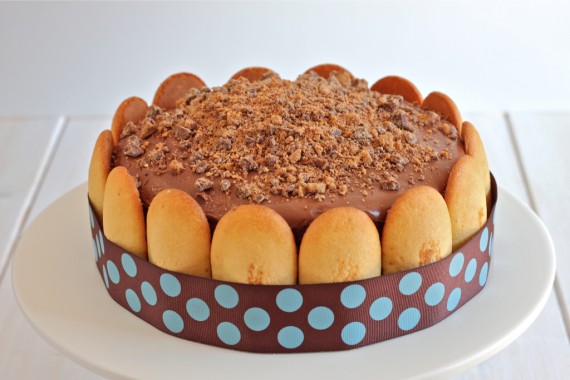
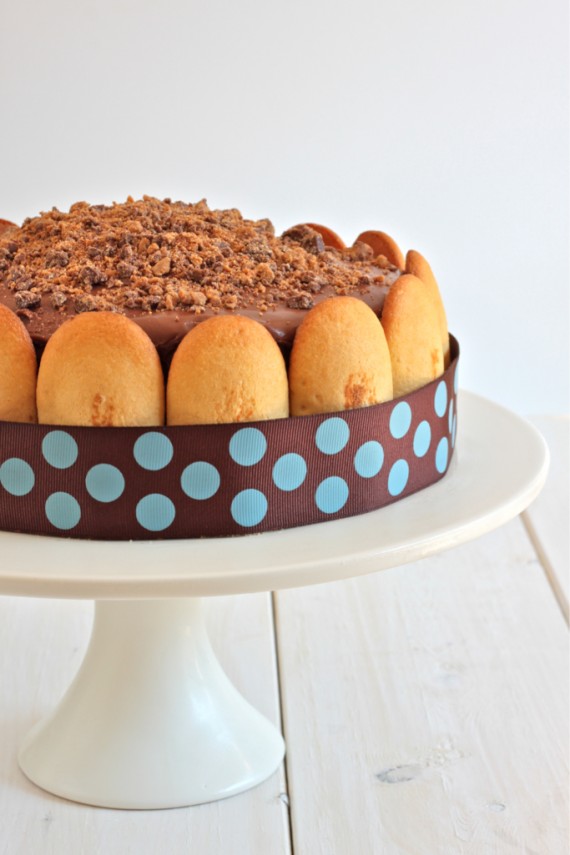
- ***I just want to say before you start that the icing is a tad runny (mind you, it was really humid that day). I tried adding more icing sugar but the icing was really hard to spread. What I suggest you do is: Buy ladyfingers (about 2 bags, even 3 to make sure you have enough) and ice the cake with the runny icing. Cut the botton of each ladyfinger in order for them to be flush with the cake plate and glue them to the icing around the cake (just like I did). This will hide the imperfections and make it look pretty!
- Pulse 4 peanut butter cups in a food processor into small chunks; transfer to a bowl. Pulse remaining peanut butter cups into a fine powder; transfer to another bowl. Chill both until ready to use.
- Heat oven to 350°. Grease four 8" round cake pans with cooking spray, dust with half the flour, and knock out any excess. Set aside.
- Put cake mix, 1 1⁄2 cups evaporated milk, half the butter, vanilla, salt, eggs, and 1/3 cup water into a large bowl; beat with an electric mixer until light and fluffy, 10–12 minutes. (I did it for about 3 minutes or so and it was ready to go)
- Divide half the batter between prepared cake pans.
- Set remaining batter aside. Using the back of a spoon, spread out batter so that it covers the bottom of each pan, making it slightly thicker around the edges than in the middle. (This will help to make sure the cake is leveled when it comes out of the oven).
- Bake until cooked through and golden around edges, 12–14 minutes.
- Set aside to let cool slightly, then loosen cake layers with a knife and invert onto cooling racks. Wash and dry cake pans.
- Repeat process a second time with cooking spray and remaining flour and batter.
- When all 8 cake layers have cooled, make the icing. Combine remaining milk, sugar, and cocoa in a medium pot; stir well, then add remaining butter.
- Cook over medium heat, stirring constantly, until butter is melted and icing is shiny, 4–5 minutes. Let cool for 5 minutes. Stir well.
- Spread a cake layer with about 1⁄4 cup of icing; sprinkle with about 1 tbsp. powdered peanut butter cups.
- Top with another cake layer and repeat process to make 8 layers in all.
- Frost outside of cake with remaining icing; sprinkle top with peanut butter cup chunks.
- Quickly place the ladyfingers around the cake by using the icing as glue.
- Let sit for 2–3 hours before serving. The cake can be stored for up to a week refrigerated in an airtight container.

